Getting box sizes wrong can be a real nightmare, right? You spend time designing your custom packaging boxes, wait for production, and when they finally arrive — your products don’t even fit! Too small, too big, or just awkward. We’ve all been there, and it’s one of the most common (and costly) mistakes in packaging design.
The good news? Measuring your boxes the right way is actually simple once you know the basic rules. The standard method is always Length x Width x Height (L x W x H) — and this usually refers to the inside usable space of your box. One golden rule to remember: always specify whether you mean Inside Dimensions (ID) or Outside Dimensions (OD) when placing your custom packaging order. That small detail can save you a lot of money, time, and frustration later on.
Okay, knowing the basic Length x Width x Height order is a great start. But let’s be honest — there are a few tricky details that can still mess people up, even if you’ve been ordering boxes for years. Don’t worry though! Stick with me, and I’ll show you exactly how to avoid those common measurement mistakes and start measuring like a true packaging pro. It’s actually way easier than you might think once you know the right steps.

What Is the Standard Order for Packaging Box Dimensions (L x W x H)?
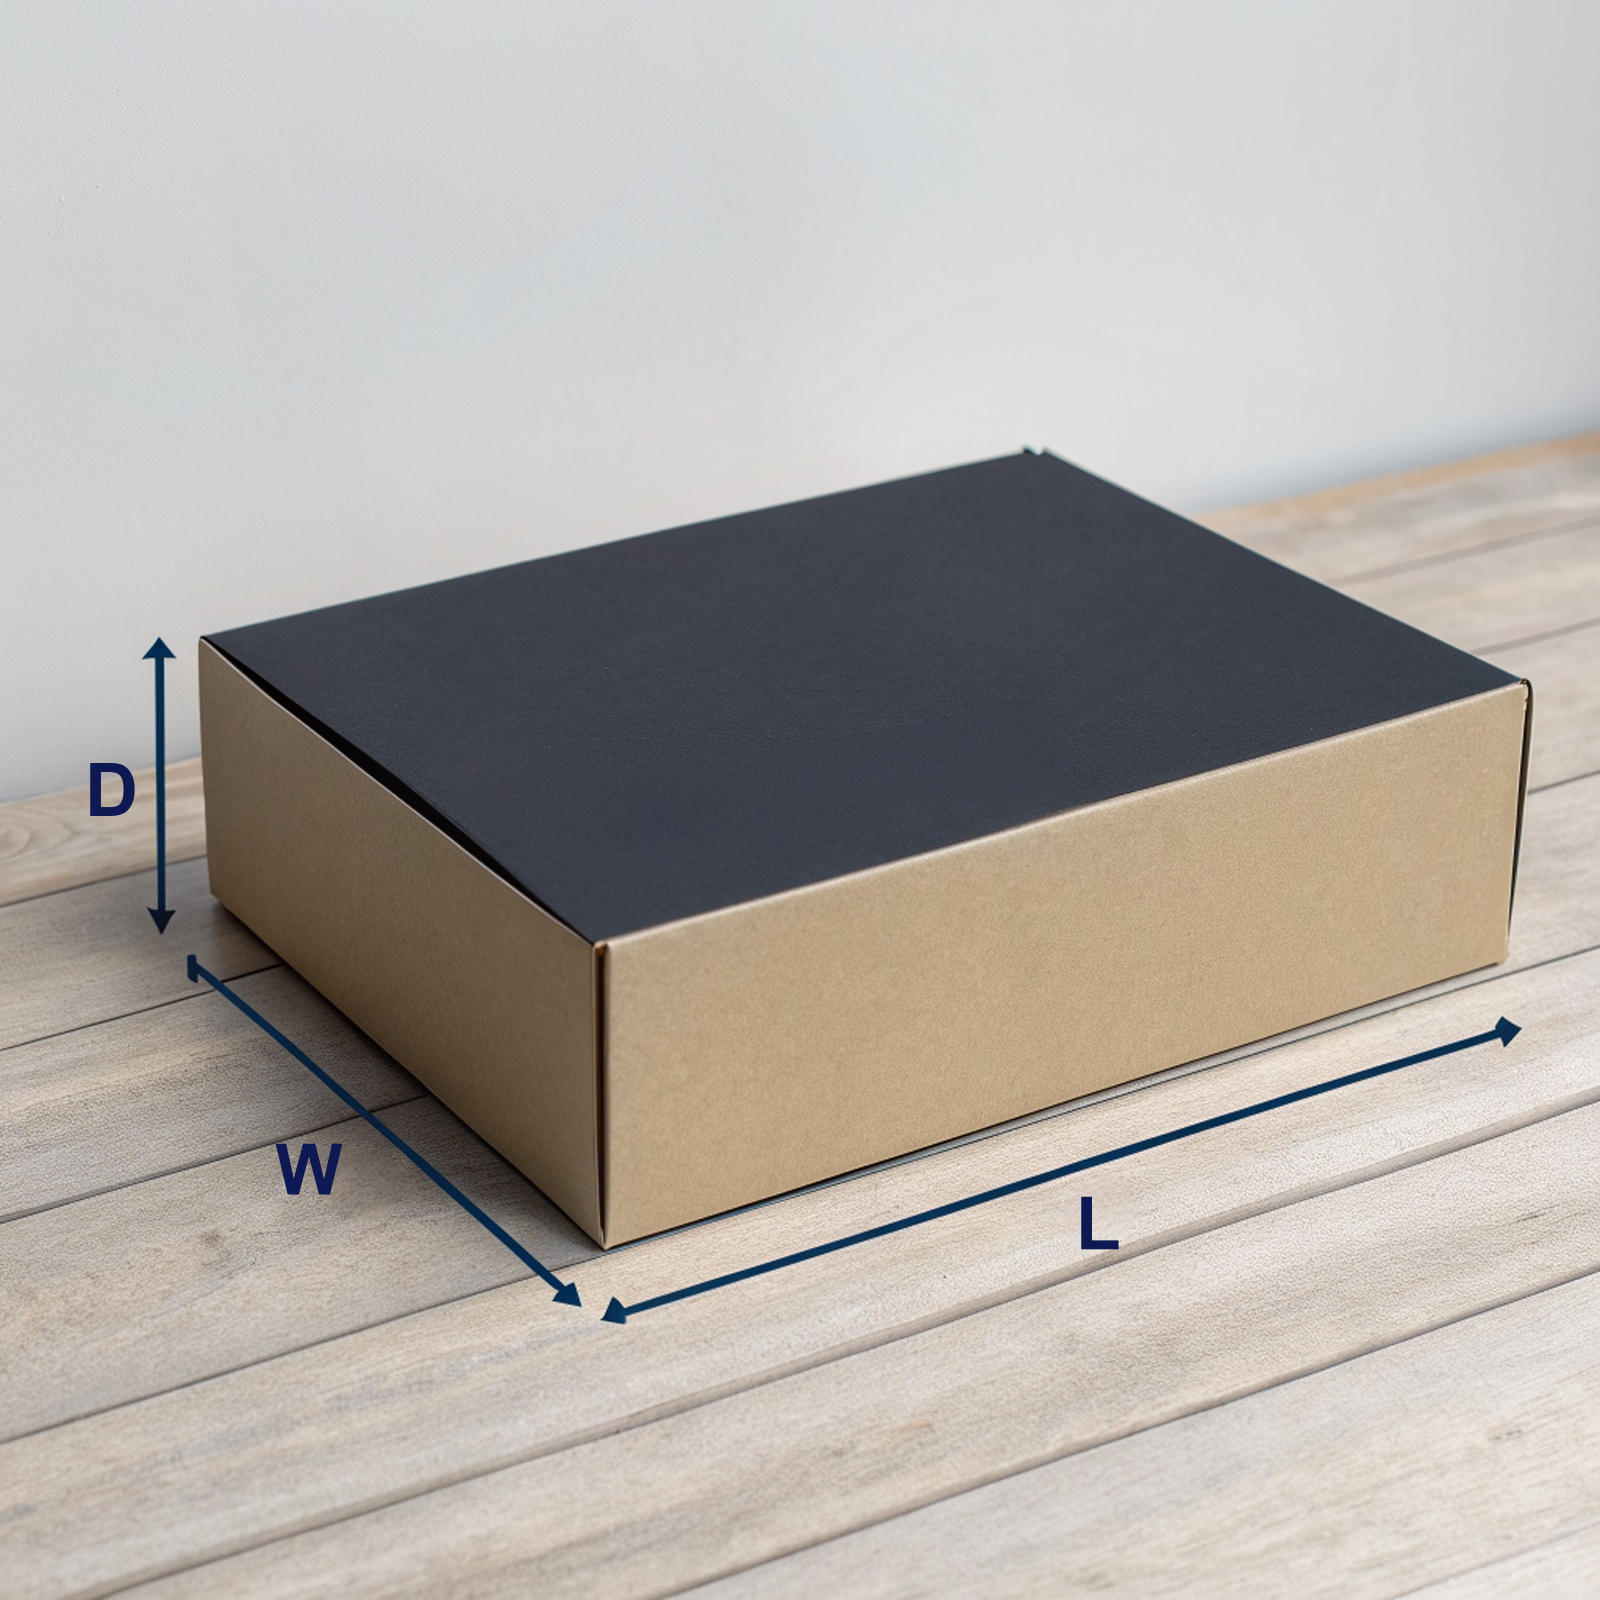
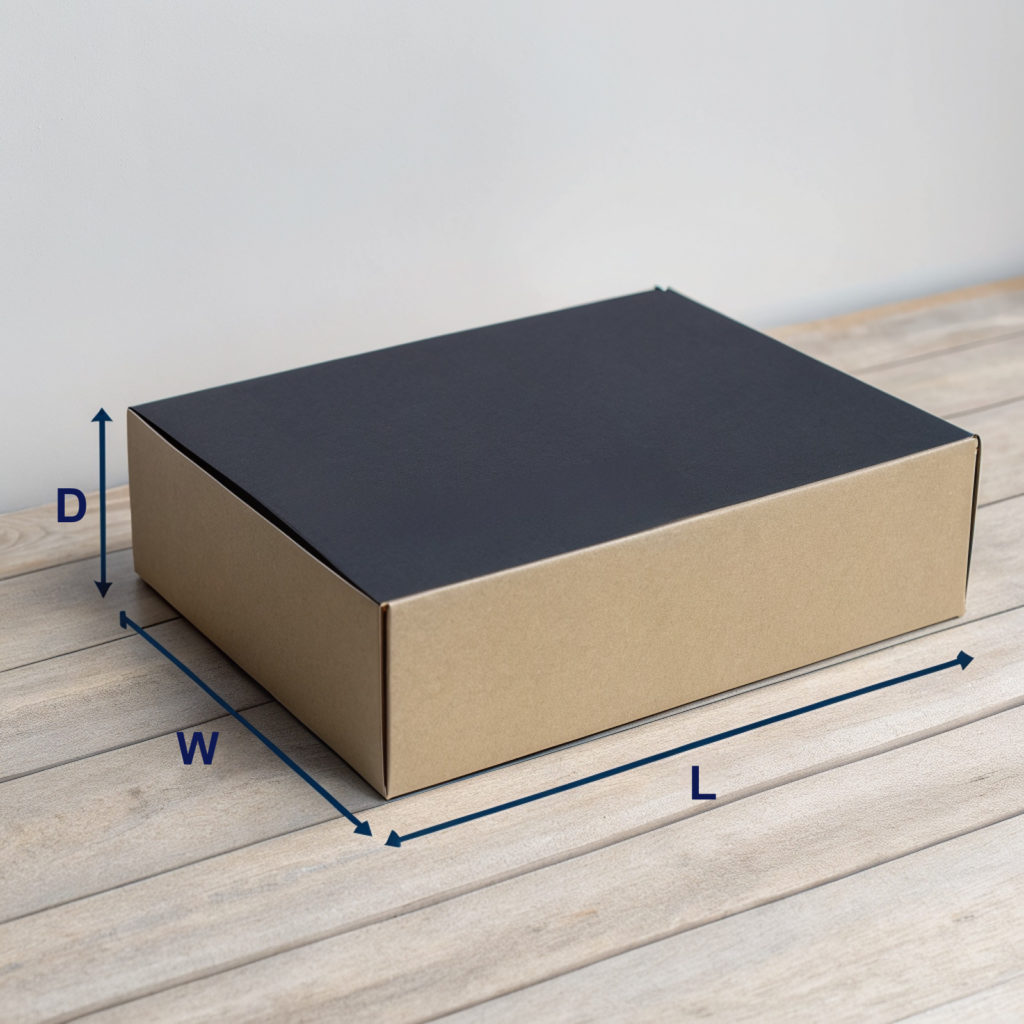
Let’s start with the basics — the order of box dimensions. In the packaging world, there’s one simple rule you should always follow: Length x Width x Height (L x W x H). Sometimes, you might see “Height” written as “Depth (D),” so it looks like L x W x D, but don’t worry — it means the same thing.
Here’s what matters most: Length always comes first, Width always comes second, and Height (or Depth) is always last. It sounds simple, but you’d be surprised how many people — even experienced ones — get this mixed up. And trust me, that tiny mix-up can turn into a big headache: sample boxes with the wrong shape, wasted materials, or even an entire production run gone wrong.
So here’s the best tip I can give you: stick to L x W x H every single time. Use it in your emails, your design notes, or when you’re chatting with your packaging supplier. It’s an easy habit that keeps everyone on the same page — and saves you from a lot of costly mistakes later.
Which Is Length and Which Is Width? Just Look at the Opening Direction!
So, you already know the order is L x W x H, but here’s the next big question — how do you tell which side is the Length and which is the Width on a real box? The easiest way is to look at how the box opens.
Picture this: your box is sitting flat on a table, and the main opening is facing up toward you. When you look down at that opening, the Length (L) is usually the longer side, and the Width (W) is the shorter side. The Height (H) or Depth (D) is simply how tall the box stands — from the table up to the opening.
But what if the opening looks almost square? That’s where things can get a little tricky. In that case, take a look at the front panel of the box — the one that usually shows your logo or main design. The side-to-side measurement of that panel is generally considered the Length.
And here’s a pro tip: if you’re ever unsure (especially with unusual shapes or near-square boxes), just ask your supplier for a die-line drawing. It’s a simple technical layout that labels every measurement clearly — so there’s no guesswork or miscommunication.
Are Height and Depth the Same Thing?
Yes — in packaging, Height (H) and Depth (D) basically mean the same thing. You’ll see both terms used all the time in the industry, sometimes even by the same supplier. Don’t let that throw you off! Both refer to the third dimension in the standard L x W x H order.
Once you’ve figured out the Length (the longer side of the opening) and the Width (the shorter side), the Height or Depth is simply how tall the box stands — or how deep it is when you look inside from the top.
So whether someone says 300 x 200 x 100 mm (H) or 300 x 200 x 100 mm (D), they’re describing the exact same box. The important thing is that it’s always the third measurement, the one going up and down — perpendicular to the opening. As long as you stick with the L x W x H (or D) order, you’ll never go wrong.
Are the Dimensions Referring to the Inside (Internal) or Outside (External) of the Box? Why Does It Matter So Much?
This is probably the most important question after learning the L x W x H rule. When you see box measurements, do those numbers describe the space inside the box, or the total size outside the box? And yes — it definitely matters!
1. Understanding Internal (ID) vs External (OD) Dimensions
Let’s break it down simply:
- Internal Dimensions (ID): These measure the usable space inside your box — basically, the space where your product sits. Think of it as the inner “cavity.” ID measurements are key when you’re designing custom packaging boxes, because they ensure your products fit perfectly without being squeezed or moving around during shipping.
- External Dimensions (OD): These measure the outside size of your box, including the thickness of the paperboard or corrugated material. OD is what matters when you’re calculating shipping volumes, pallet stacking, or warehouse storage space.
By default, most packaging suppliers will assume you’re referring to Internal Dimensions (ID) when you send measurements like “300 x 200 x 100 mm.” That’s because fitting your product inside the box is usually the main goal. But making assumptions is risky — and can lead to costly mistakes!
The best practice? Always specify whether your measurements are ID or OD. Just adding those two letters after the dimensions removes all confusion. This is especially important when you’re working with thicker materials like corrugated shipping boxes or luxury rigid boxes, where the material thickness can add several millimeters — even up to a centimeter — to the overall size.
2. What Happens If You Mix Them Up?
Mixing up ID and OD might sound like a small mistake, but it can cause serious problems. Here’s what can happen:
- If you give OD measurements when you actually meant ID, your boxes will be larger inside than expected, and your products will rattle around loosely.
- If you give ID measurements when you needed OD for shipping calculations, you’ll end up with higher-than-expected shipping costs — because your boxes take up more space.
- And the worst case? You provide OD thinking it’s ID for a tight-fit product. When the boxes arrive, the inside space is smaller, and your products don’t fit at all.
Imagine opening thousands of custom boxes only to realize your products won’t go in — that’s a nightmare no business wants. I once had a client who ordered rigid gift boxes based on OD instead of ID. When production was done, their products were a few millimeters too big to fit. The entire batch had to be remade, causing delays, extra costs, and wasted materials.
That’s why clarifying ID vs OD with your supplier before confirming your order is so important. For thick corrugated or rigid boxes, even a few millimeters can make a big difference. It’s a simple detail that saves time, money, and a lot of headaches down the road.
How to Accurately Measure Different Types of Packaging Boxes
Different boxes have their own little quirks when it comes to measuring. Here’s a quick guide to make sure your custom packaging boxes fit perfectly every time:
1. Mailer Boxes / E-commerce Tuck-Top Boxes
- Always measure the internal dimensions (ID) with the lid closed.
- Make sure the box is fully assembled and locked — this gives the true usable space.
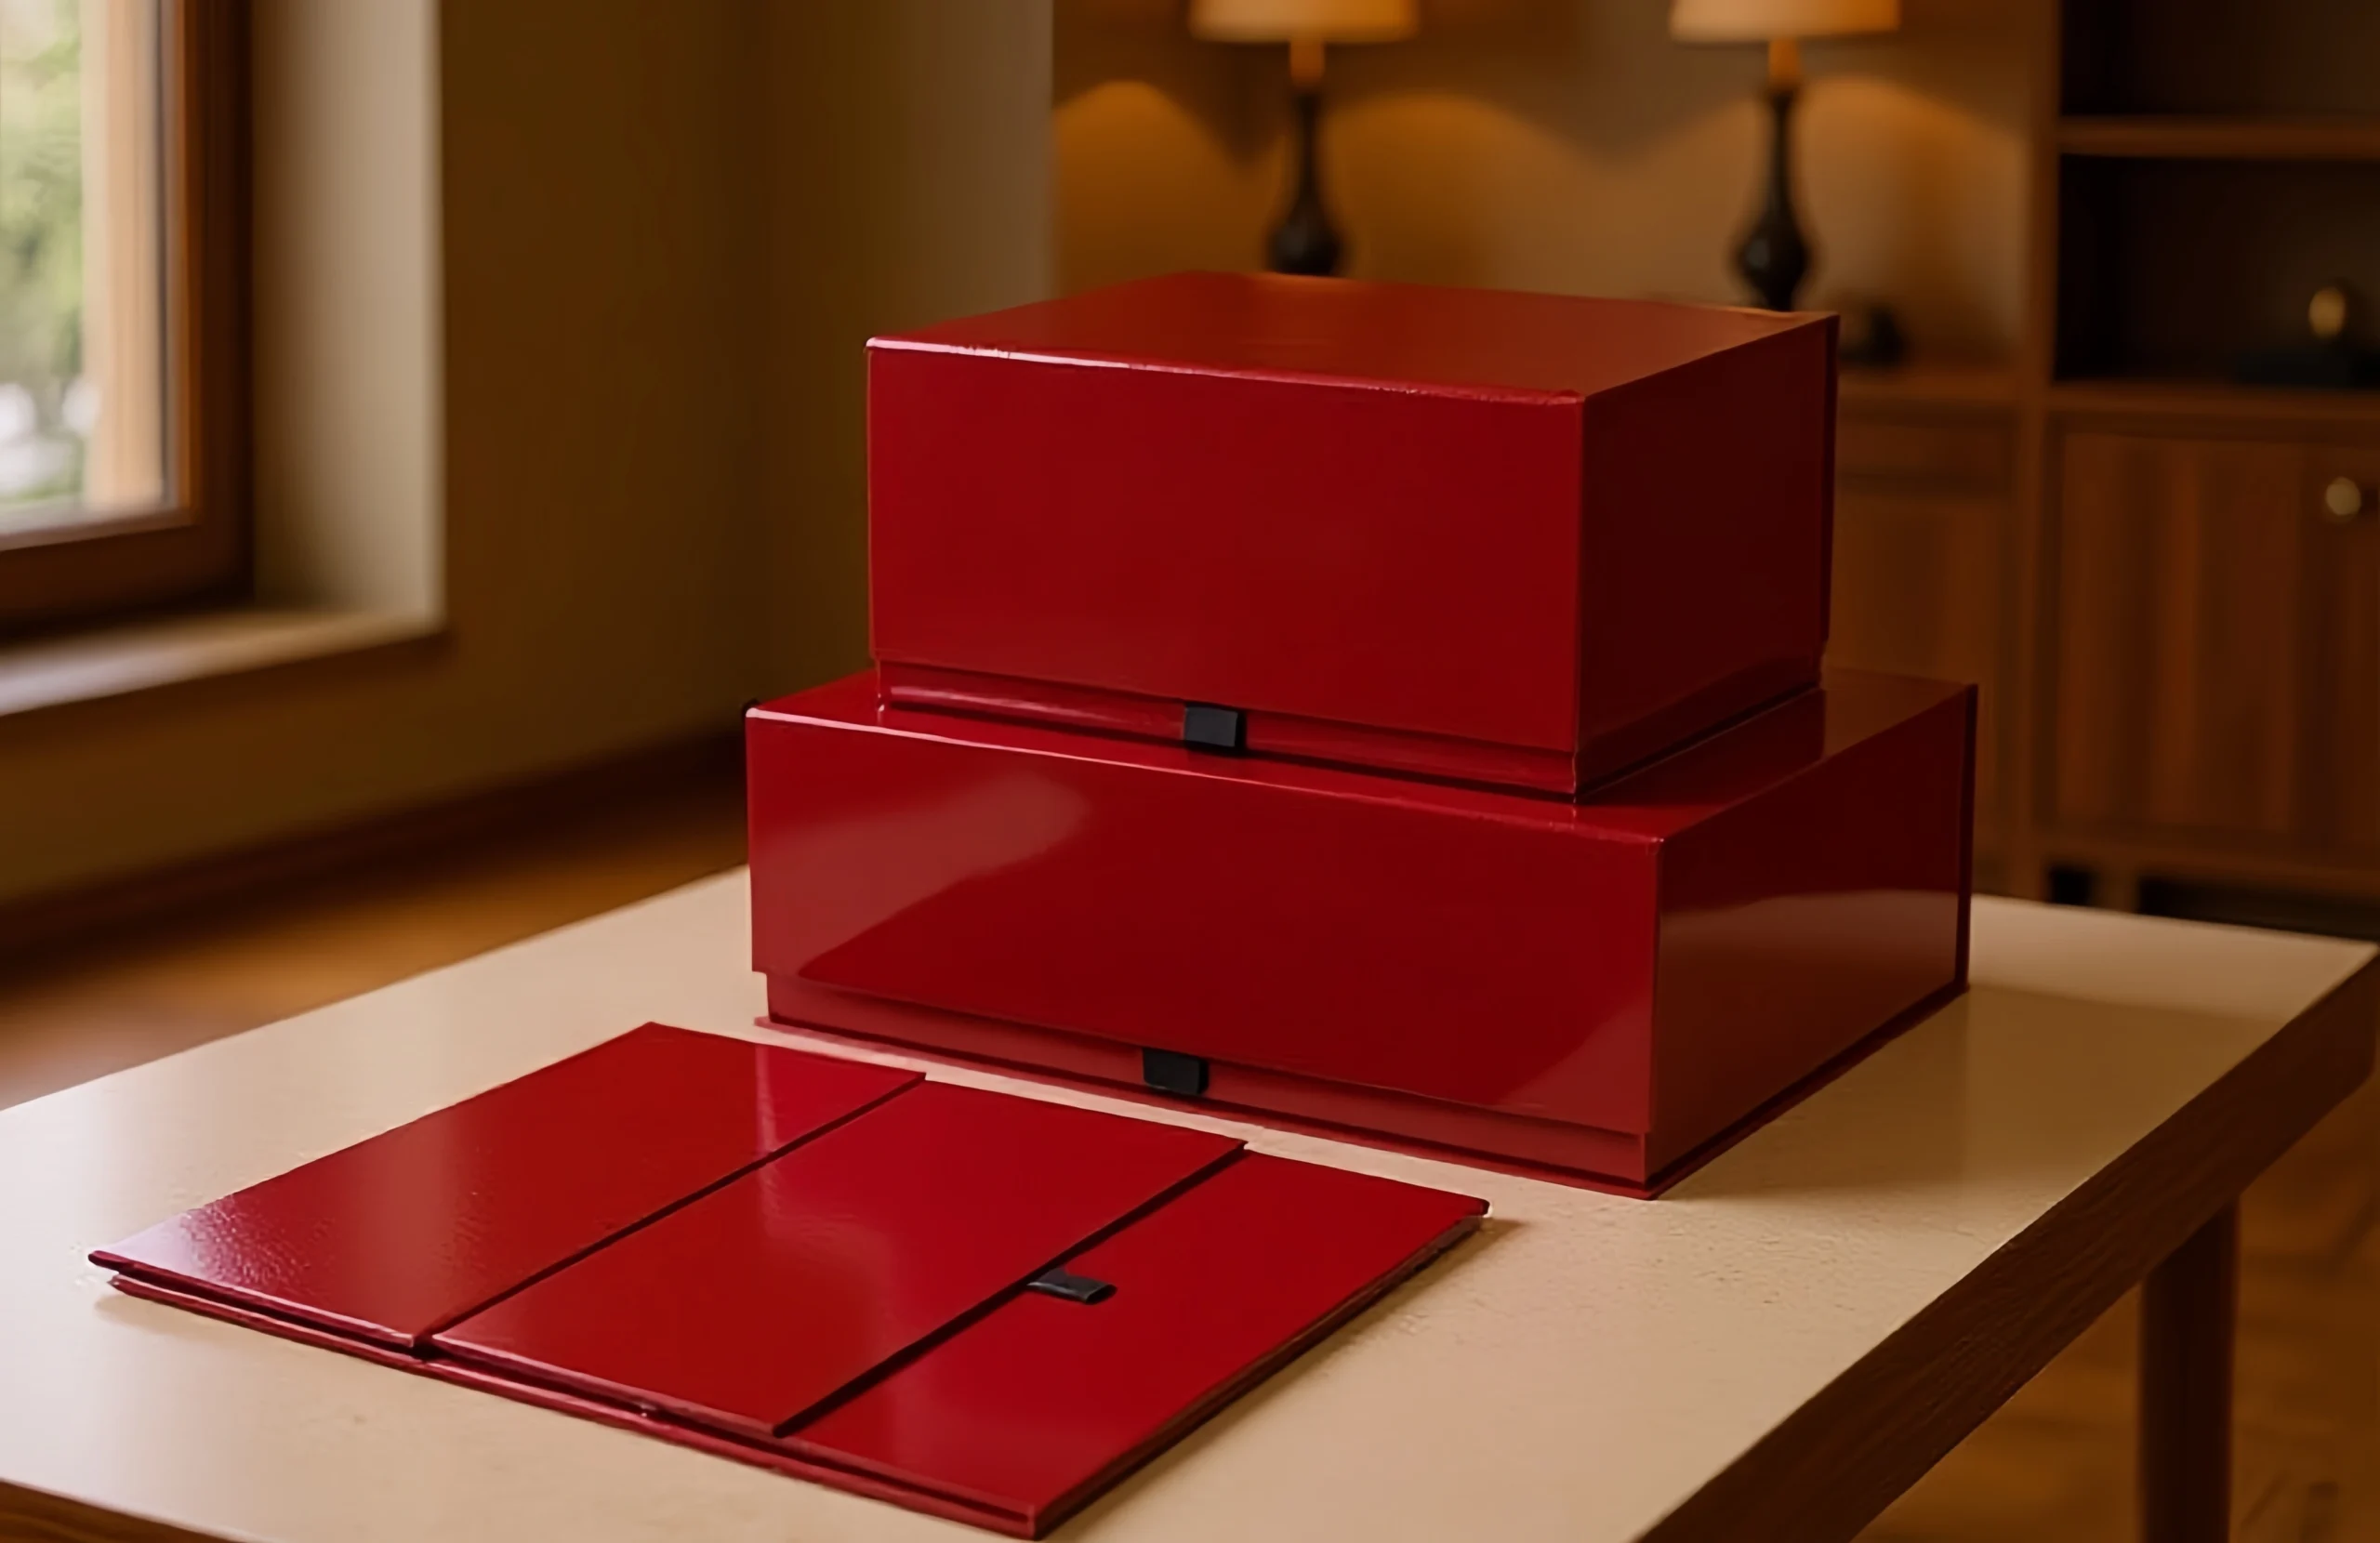
2. Rigid / Luxury Boxes
- Measure the base and lid separately if the lid doesn’t fully cover the base.
- Check height/depth carefully to ensure your product fits snugly.
3. Folding Cartons (Soft Retail Boxes)
- Gently hold the box in shape while measuring, as panels can flex.
- Measure along the inside crease lines, not the middle of the panels.
4. Shipping / Corrugated Boxes
- Measure internal dimensions for product fit and external dimensions for shipping or storage.
- Pay attention to the flute direction — the Length usually runs parallel to the flutes for stronger stacking.
- Remember: thicker materials can affect ID vs OD, so always check both if needed.
You always need to ask your supplier for a die-line drawing if you’re unsure. It labels every dimension clearly and ensures your products will fit perfectly.
Summary: Remember These Key Points and Never Misread Box Dimensions Again!
Alright, we’ve covered a lot, but mastering box dimensions really comes down to a few simple habits. Keep these in mind, and you’ll avoid most common mistakes:
- Always follow the L x W x H (or D) order. No exceptions — this step is crucial.
- Clearly state Internal Dimensions (ID) or External Dimensions (OD). Don’t assume anyone knows which one you mean. ID ensures your product fits perfectly, while OD matters for shipping and storage.
- Identify Length and Width by the box opening: L = longer side, W = shorter side.
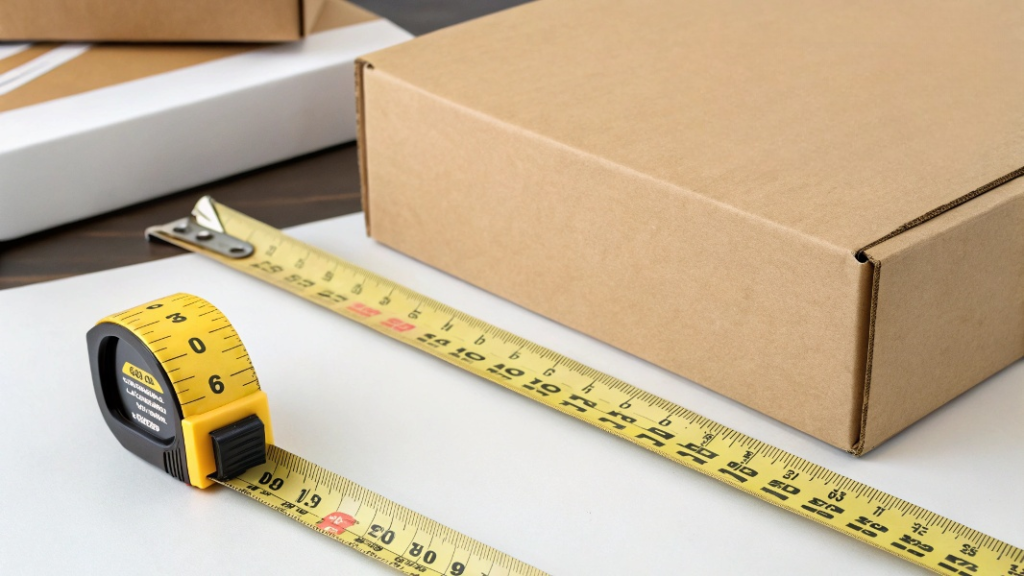
- When measuring yourself, measure along the inside score lines using millimeters (mm) for the most accurate results.
- Understand manufacturing tolerances. Usually +/- 1–2 mm is normal. If you need an extra snug fit, discuss the tolerance with your supplier.
- The ultimate safety net: always get a physical prototype or sample. Put your actual product inside, check the fit, the closure, everything. Digital proofs only show printing; a real sample confirms the structure and dimensions.
Follow these steps consistently, and you’ll save time, money, and a lot of potential frustration while ensuring your custom packaging boxes are perfect for your products.