The Birth of a Packaging Box: From Design to Dazzle – Unlocking the Magic of High-Quality Printing
I just received a wedding cookie box from a friend. Before even opening it, I was captivated by the box itself—the paper felt smooth and warm to the touch, golden patterns shimmered subtly in the sunlight, and pressing gently revealed delicate embossed textures. I stared at the box for so long that I almost forgot about the cookies inside.
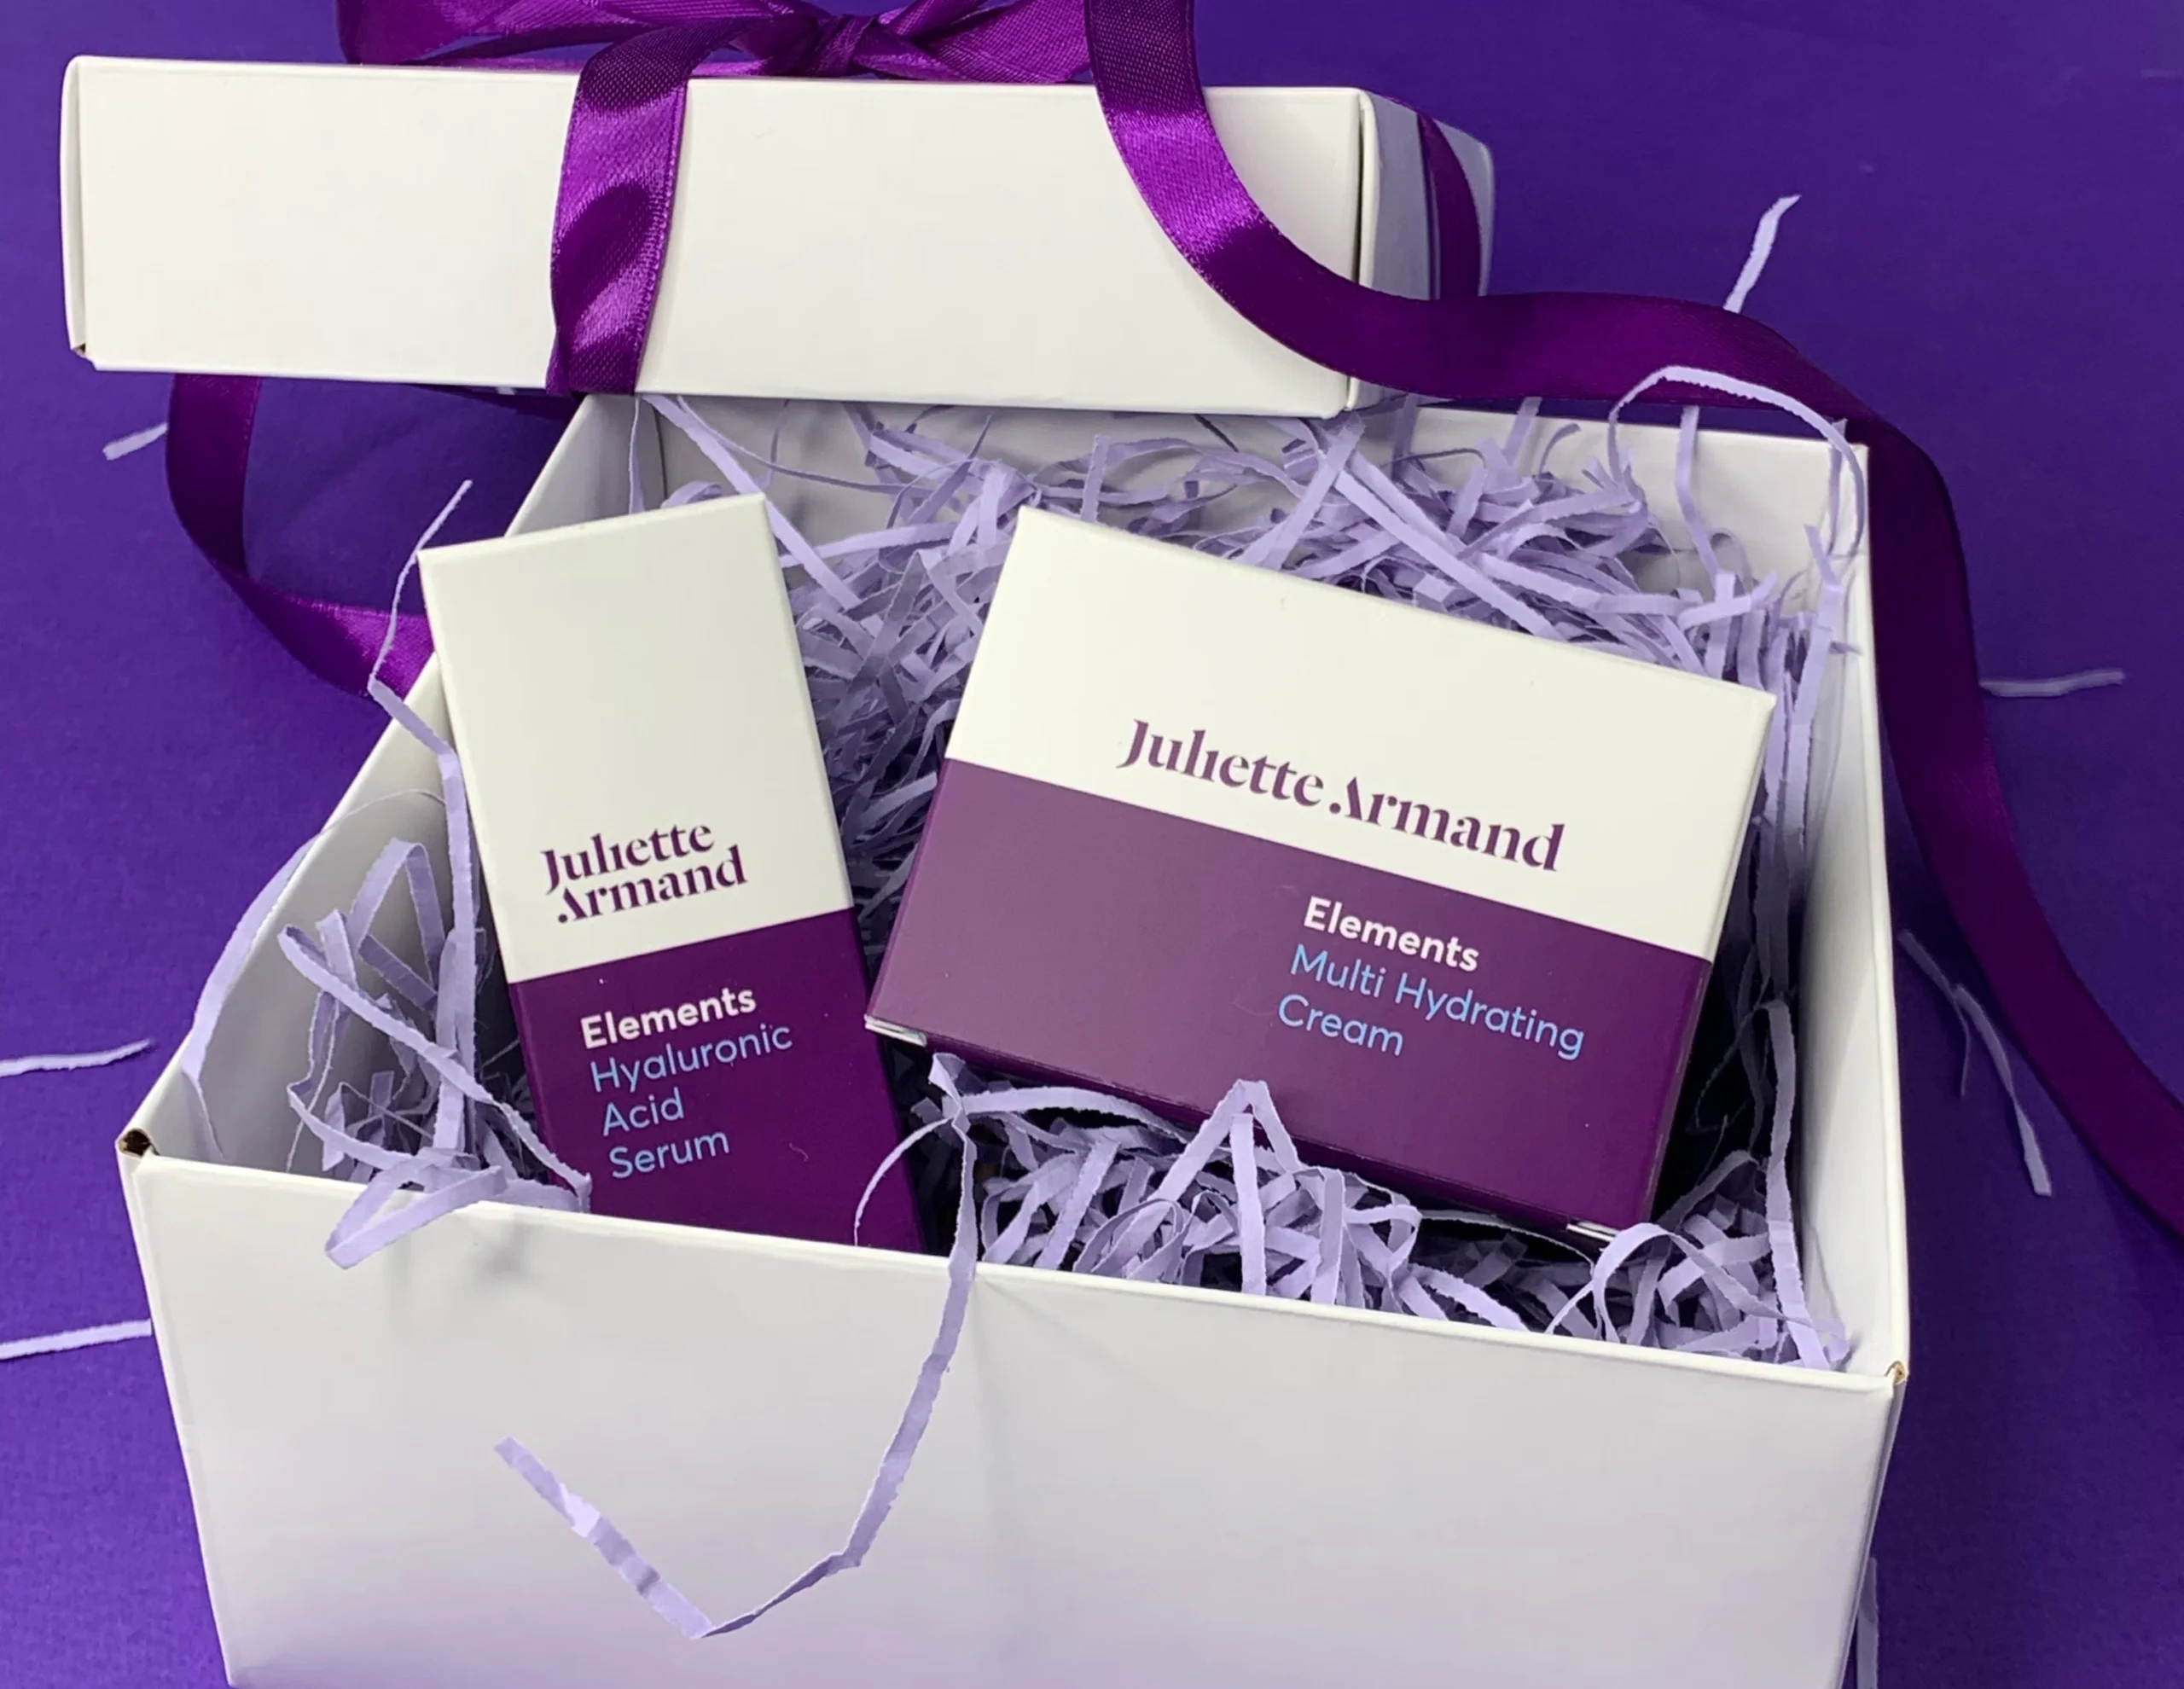
You’ve probably had similar experiences: in a store, a beautifully packaged product like a gift bag or rigid box catches your eye; when giving a gift, exquisite packaging instantly elevates the sense of value; or even after opening a parcel in a shipping bag, you can’t bear to throw away the elegant folding box or corrugated box.
This is the charm of high-quality printing.
Today, I want to take you into the world of printing—not with heavy technical jargon, but in a casual, conversational way—sharing the magic that brings paper to life. Whether you’re an entrepreneur looking to package your products, a designer seeking inspiration, or simply curious about beauty, this article will give you the answers you’re looking for.

Before Printing: Lay a Solid Foundation to Build a Skyscraper
In the packaging printing industry, there’s a saying: “Printing is an art of details.”
It’s like preparing a signature dish—the right ingredients and precise recipe make half the success. Printing works the same way. Before the press starts rolling, two foundational steps—paper selection and design files—determine the quality of the final product. If the foundation is weak, no amount of advanced techniques can save it.
1.Paper Selection: Different skins need different care
Step into a printing warehouse, and you’ll see mountains of packaging materials. The most commonly used, practical types of paper for packaging fall into these categories:
- Coated Paper: The “Star Paper” for Vibrant Colors
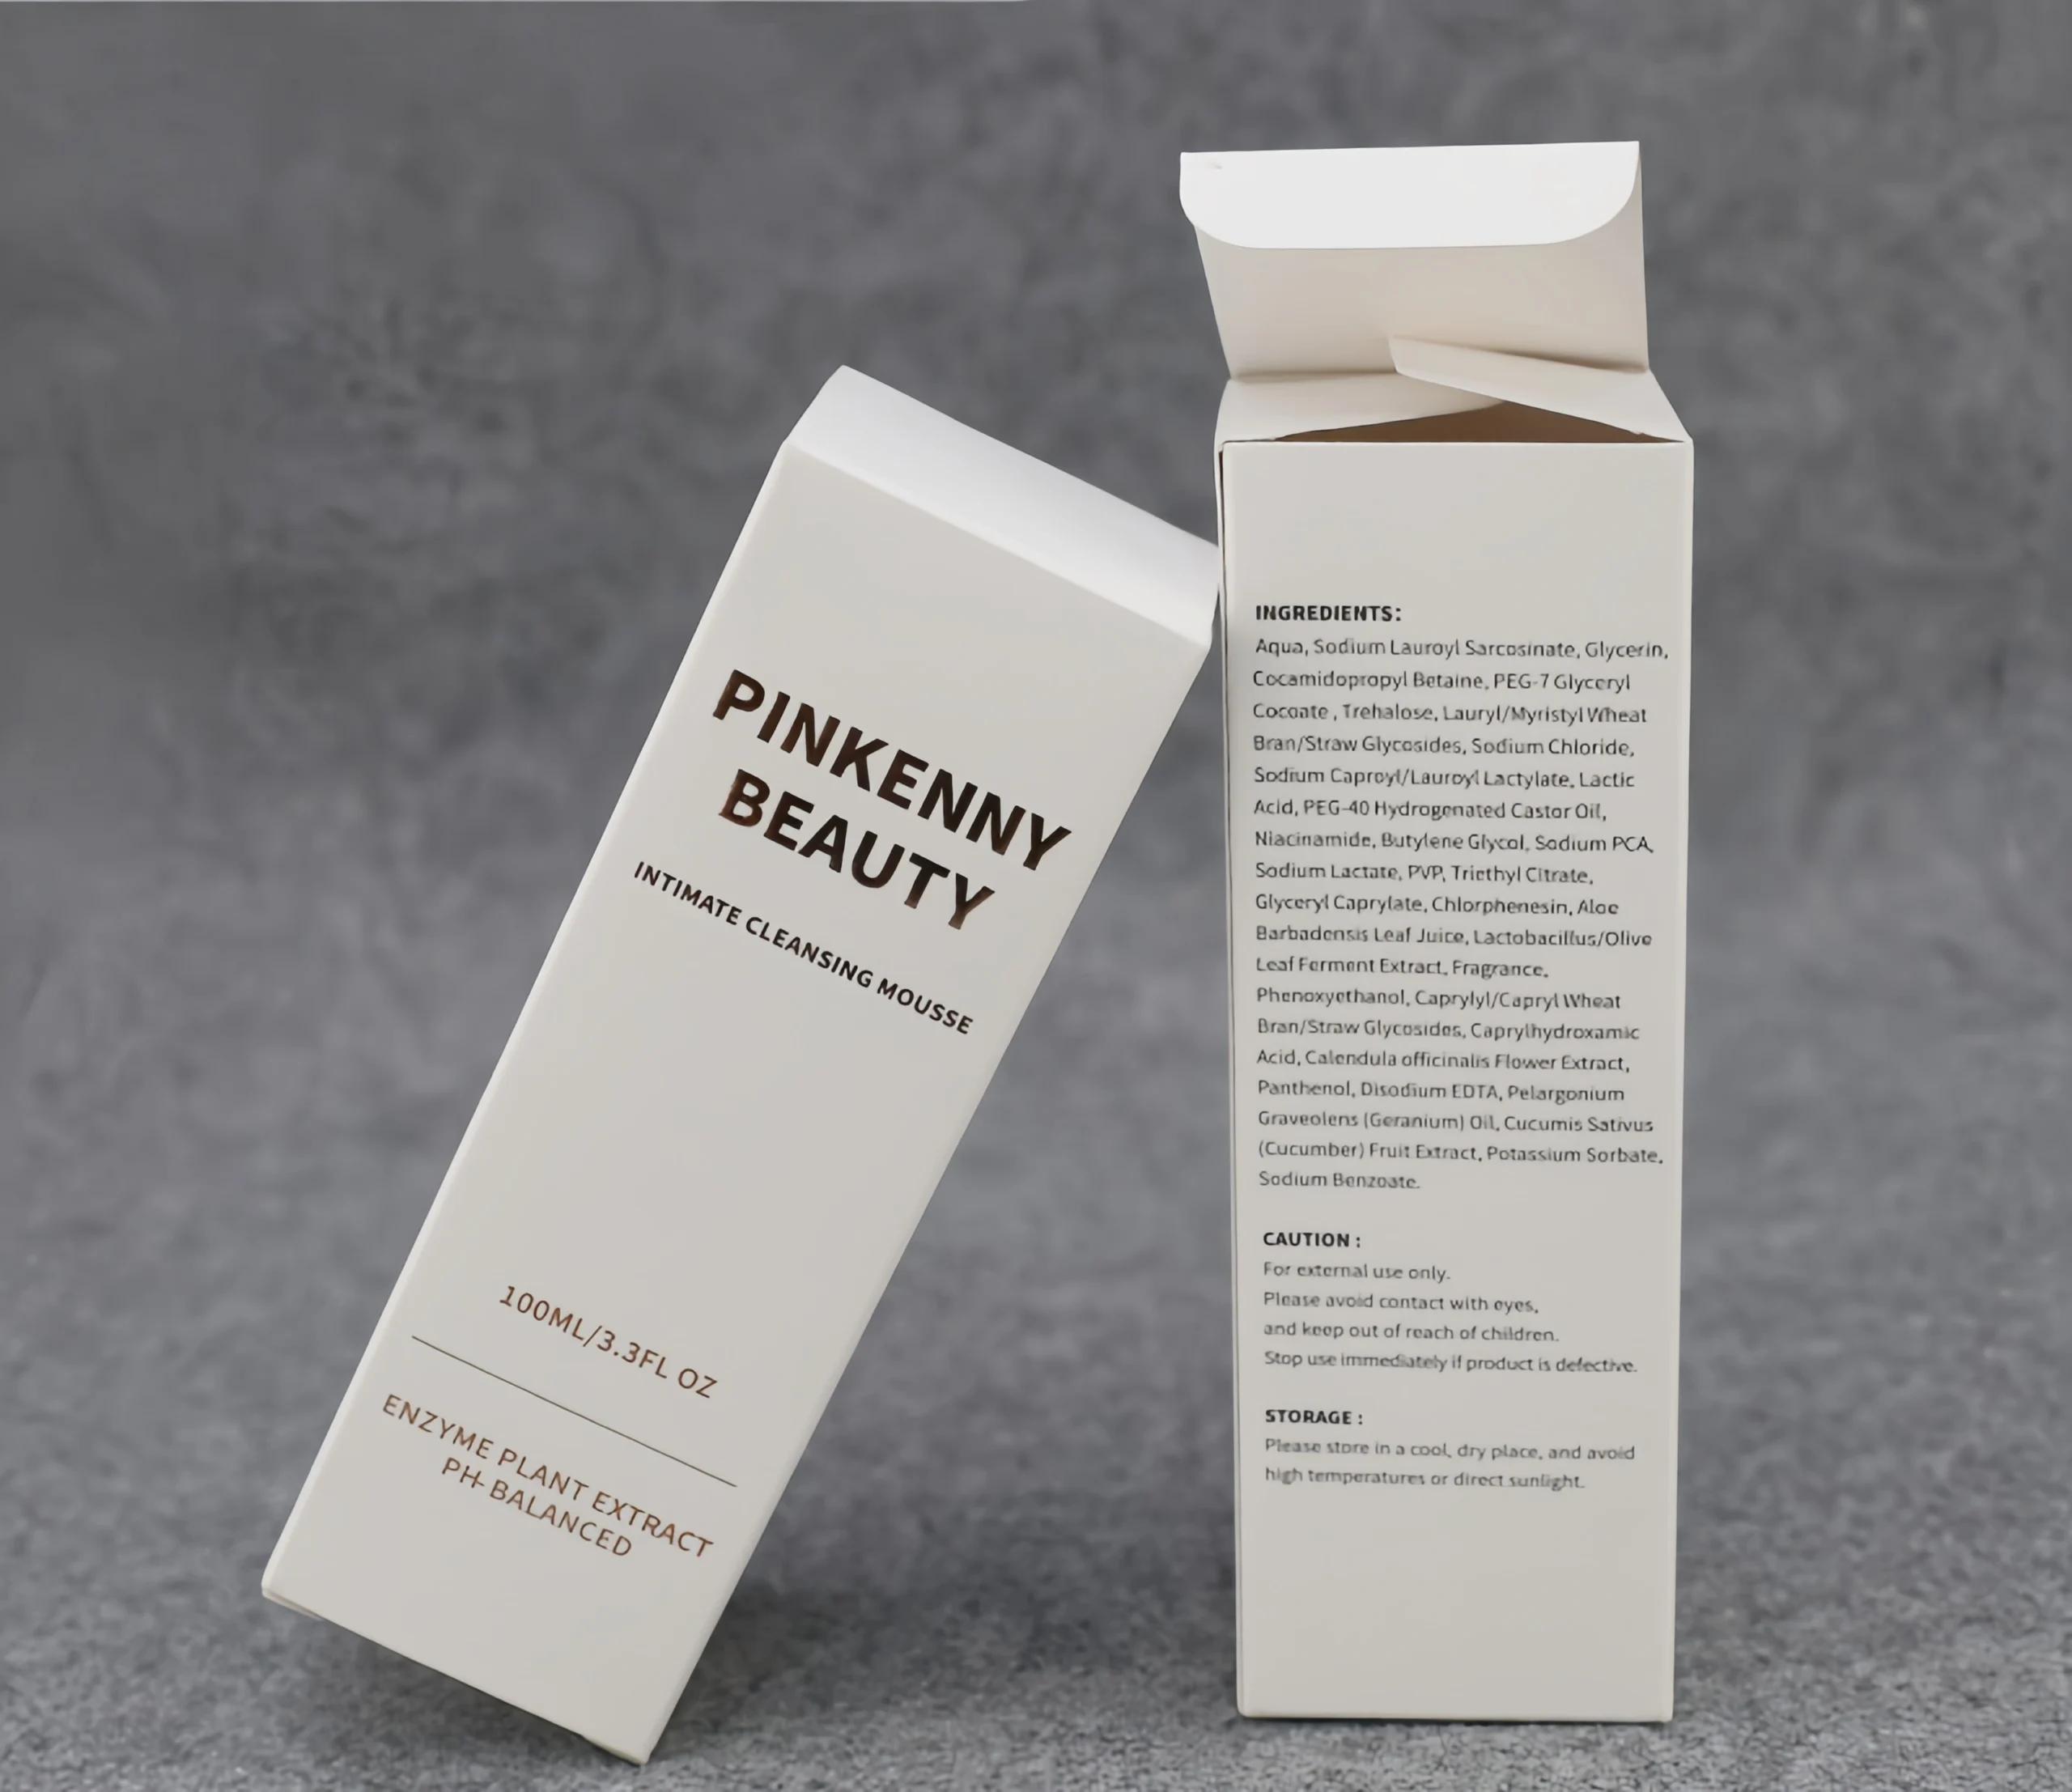
Coated paper has a smooth, slightly glossy surface, ideal for colorful designs. Most packaging boxes with rich, gradient-filled, or photographic visuals—like a folding box—use coated paper. If your design relies on large images, blocks of color, or complex compositions, coated paper is a safe choice. - Cardboard: Sturdy “Skeleton” of Packaging
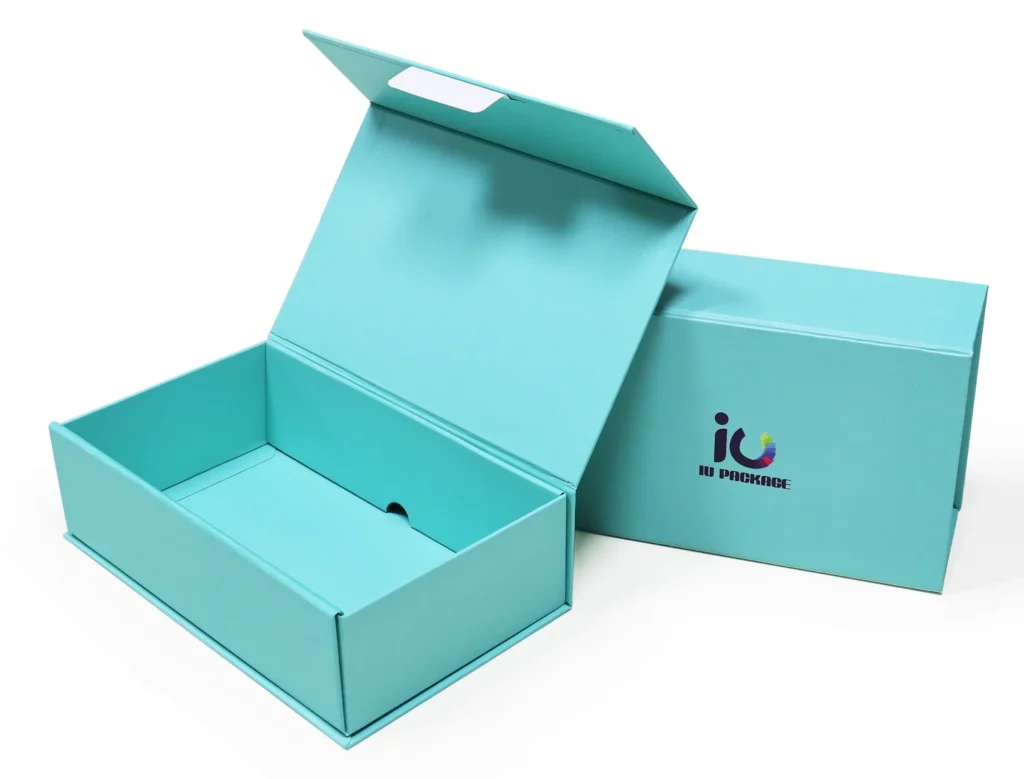
Thicker and harder than coated paper, cardboard holds the structure firmly. Rigid boxes, gift bags, and corrugated boxes all rely on it. If your product requires protection or a sense of volume, cardboard is the perfect companion. - Art Paper: Textured and Luxurious by Nature
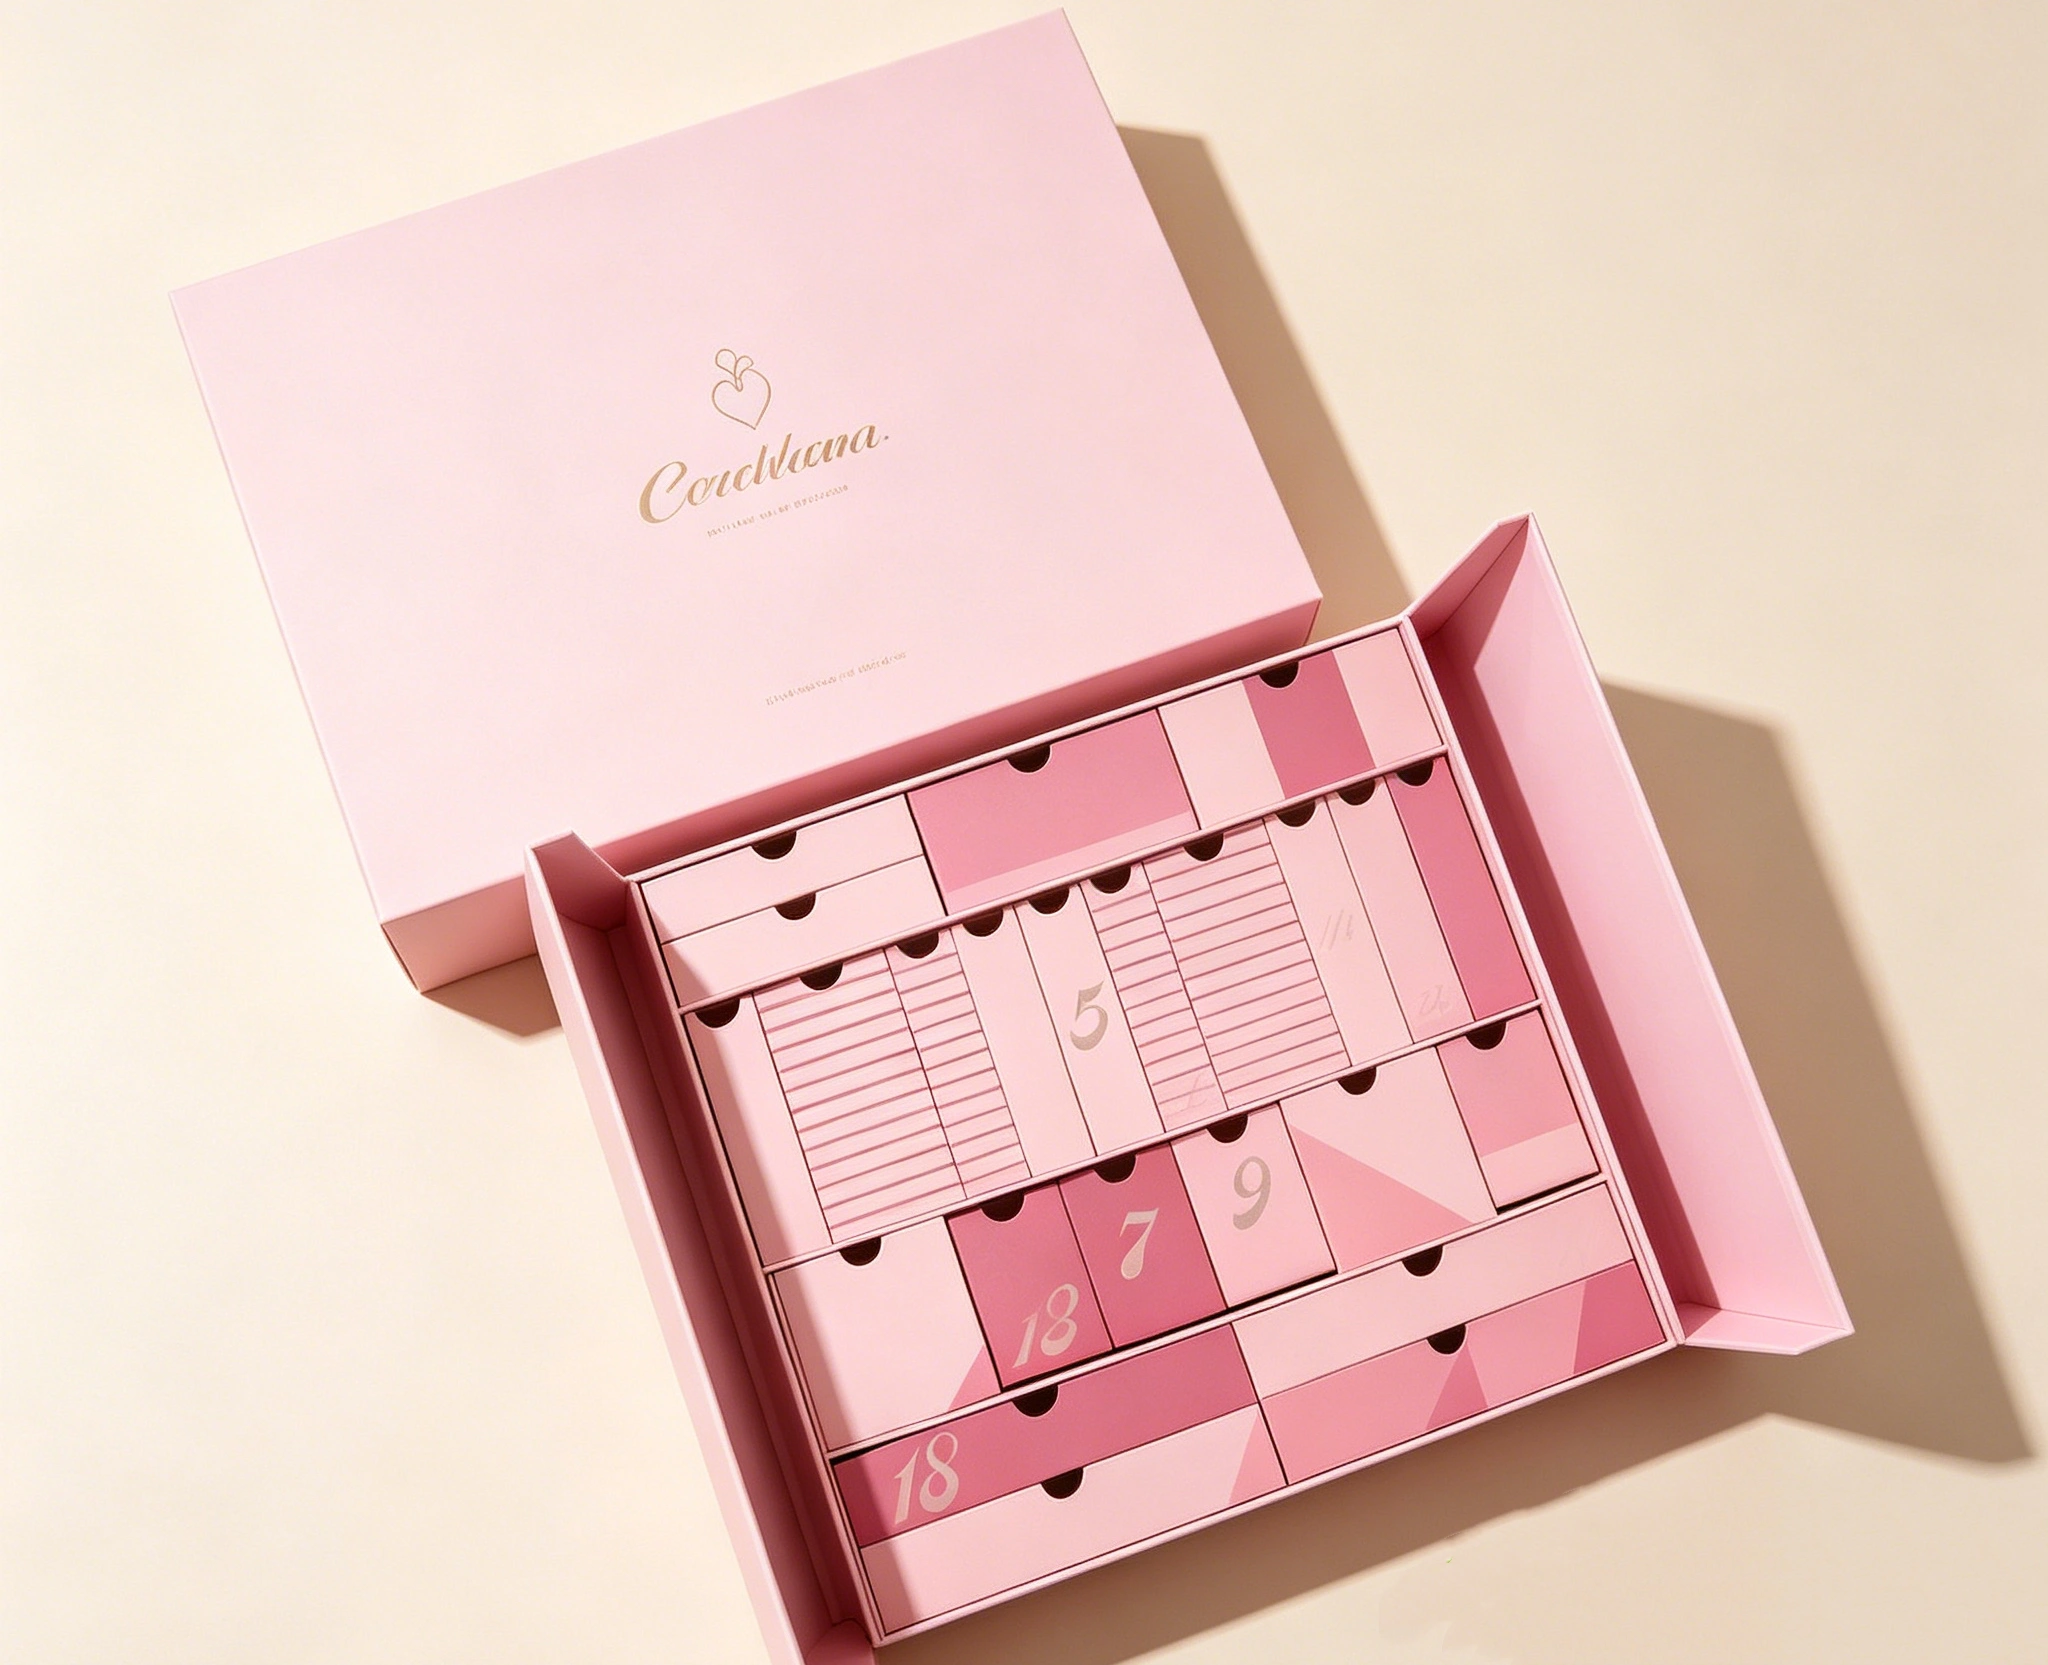
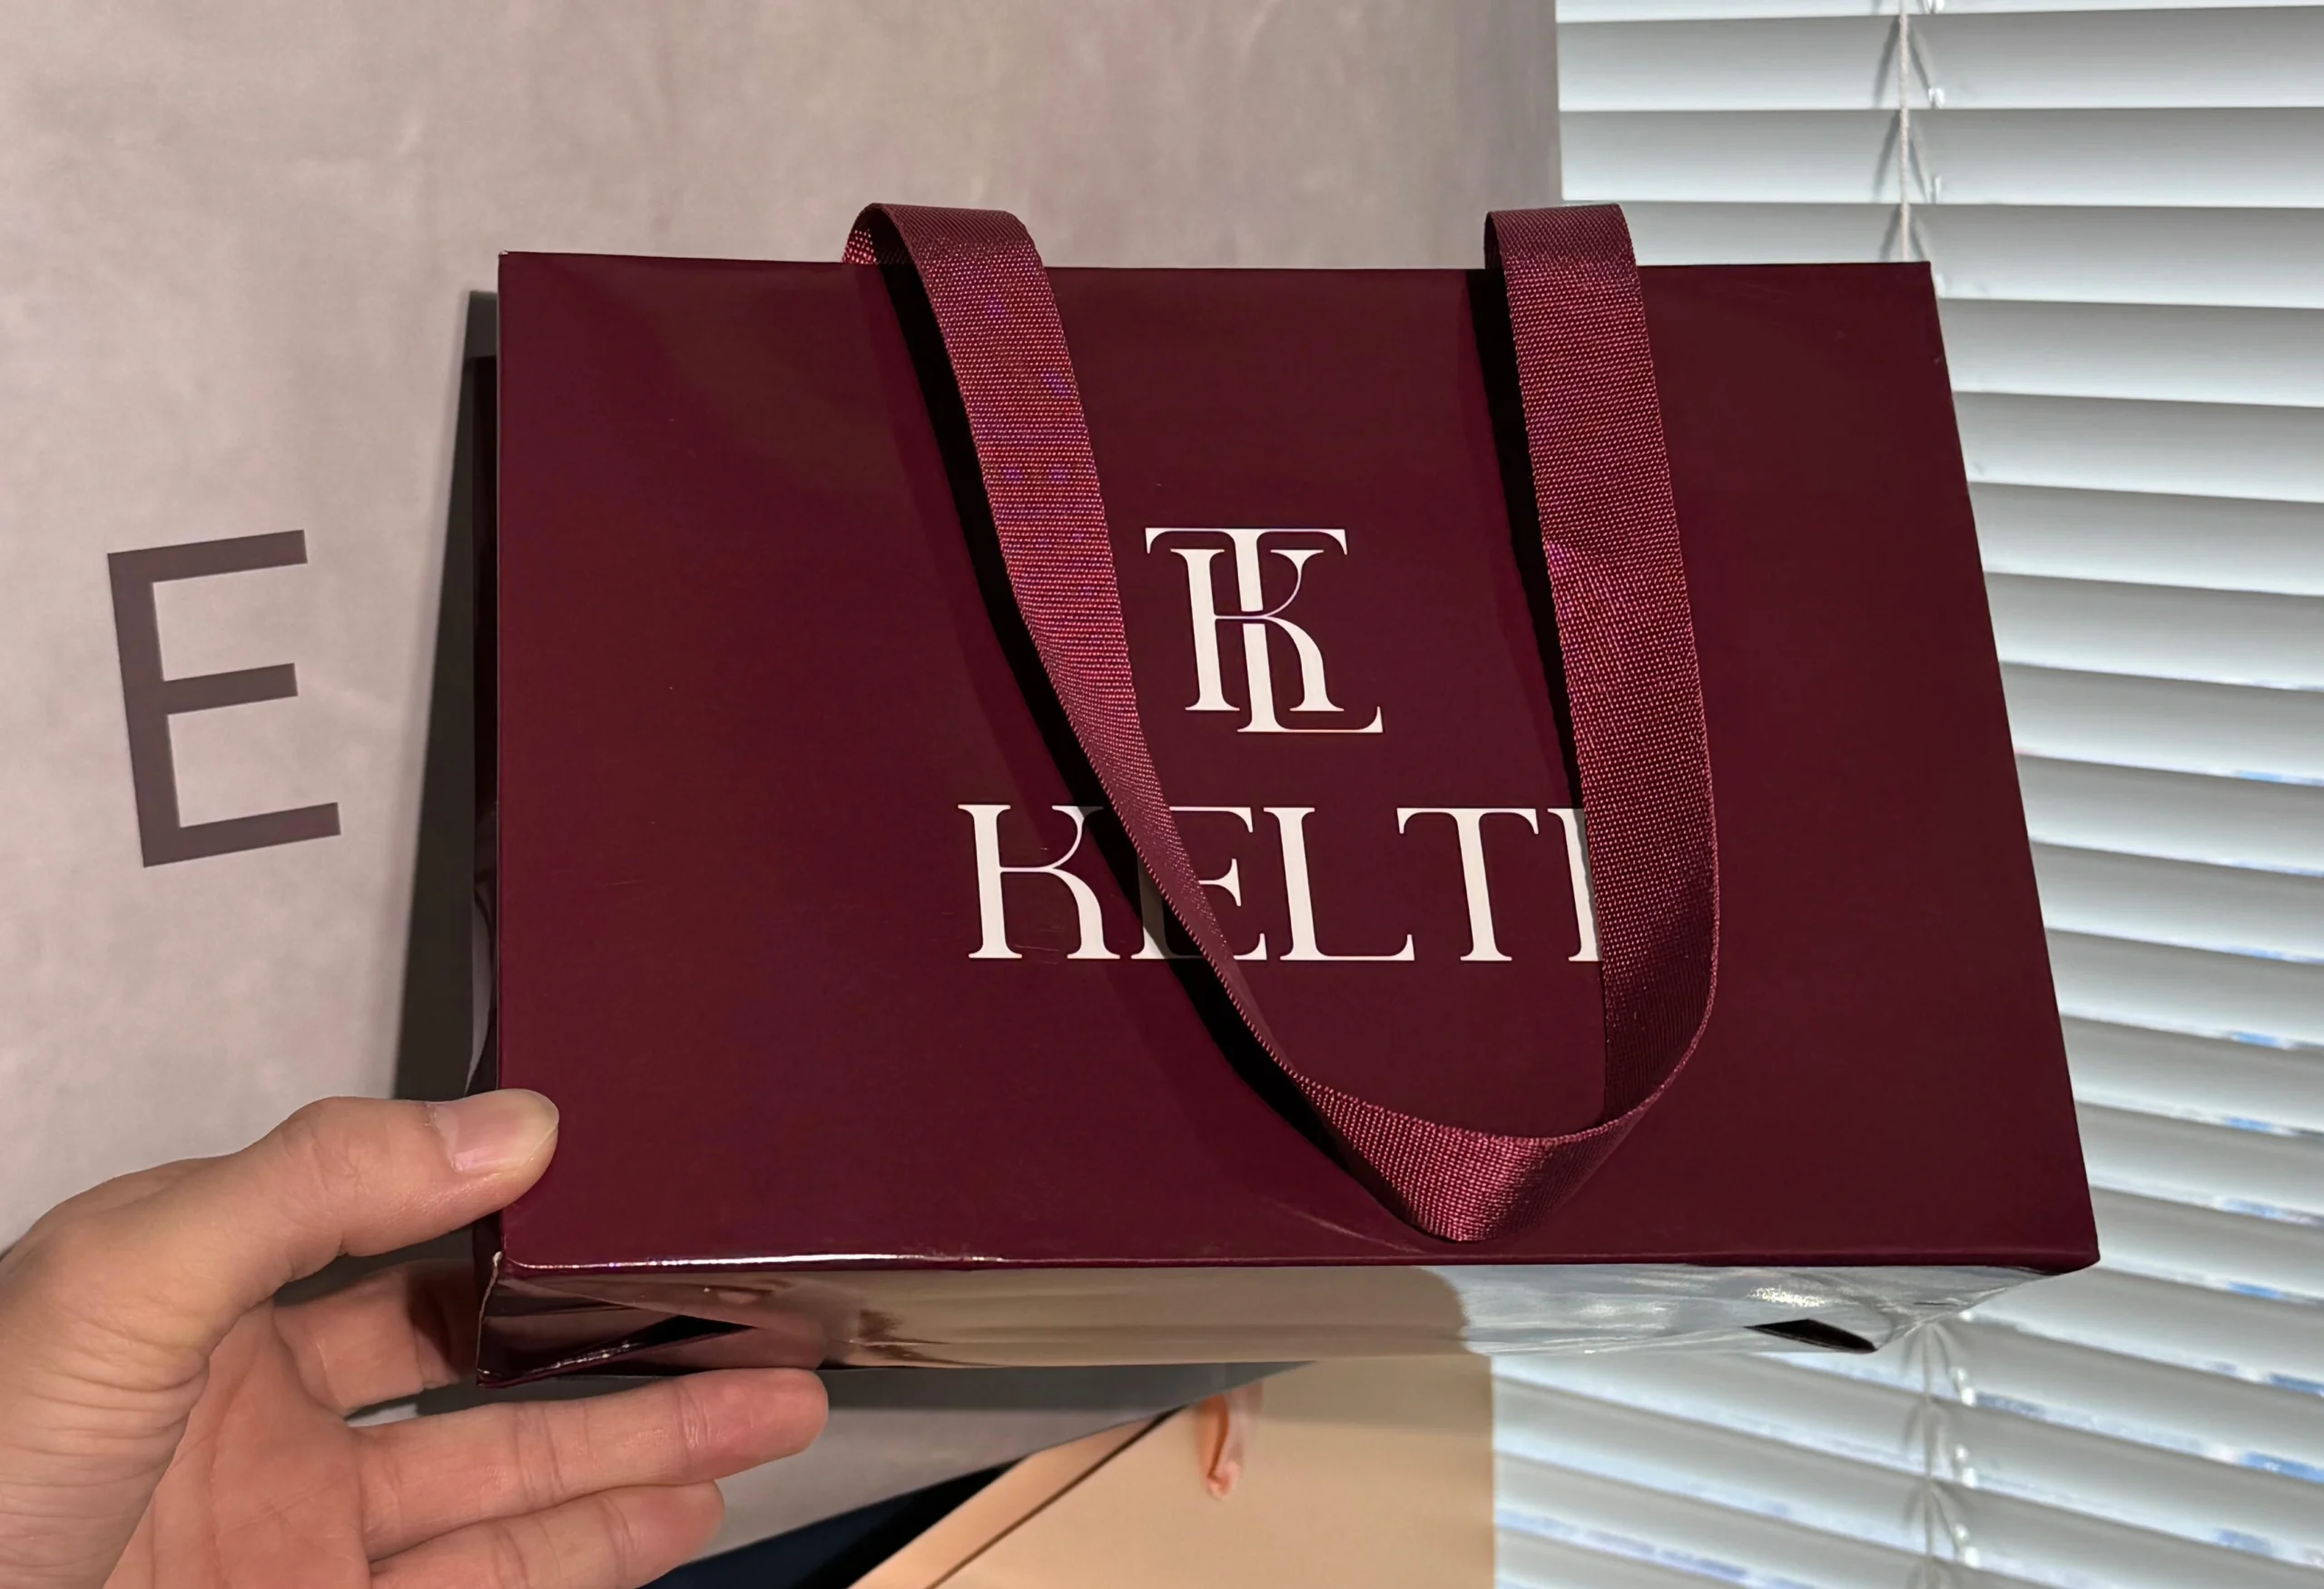
Art paper’s charm lies in its touch. Running your fingers over it, you feel textures like cotton, linen, fine sand, or pearlescent finishes—each giving a unique brand style. Many high-end gift boxes or rigid boxes use art paper to give that “premium feel” the moment you touch it. - Specialty Paper: Luxurious with Sparkle, Metallic, or Holographic Effects
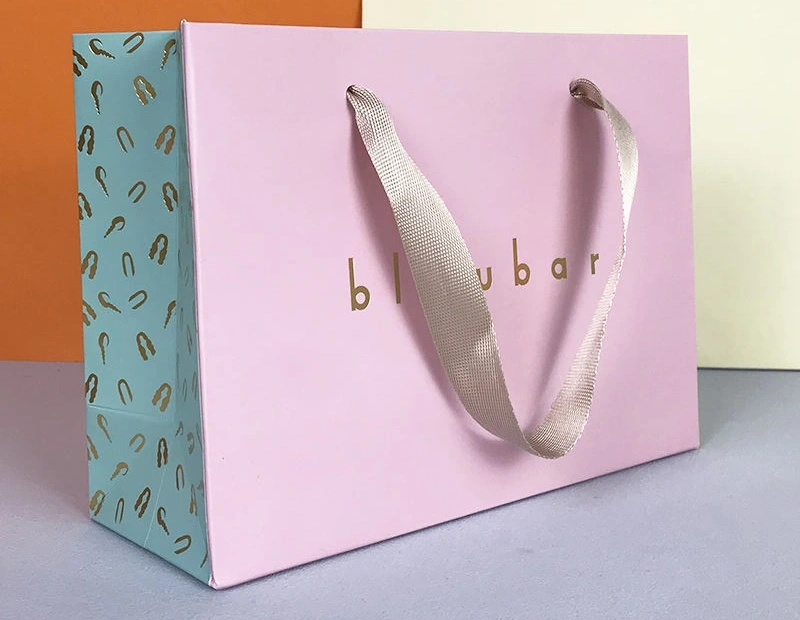
Specialty papers stand out naturally, with gold or silver flakes, pearl or holographic finishes, and even semi-transparency. These are the “luxury goods” of packaging and can make a product pop without complex design. Commonly used for jewelry, festive gift bags, and limited-edition folding boxes.
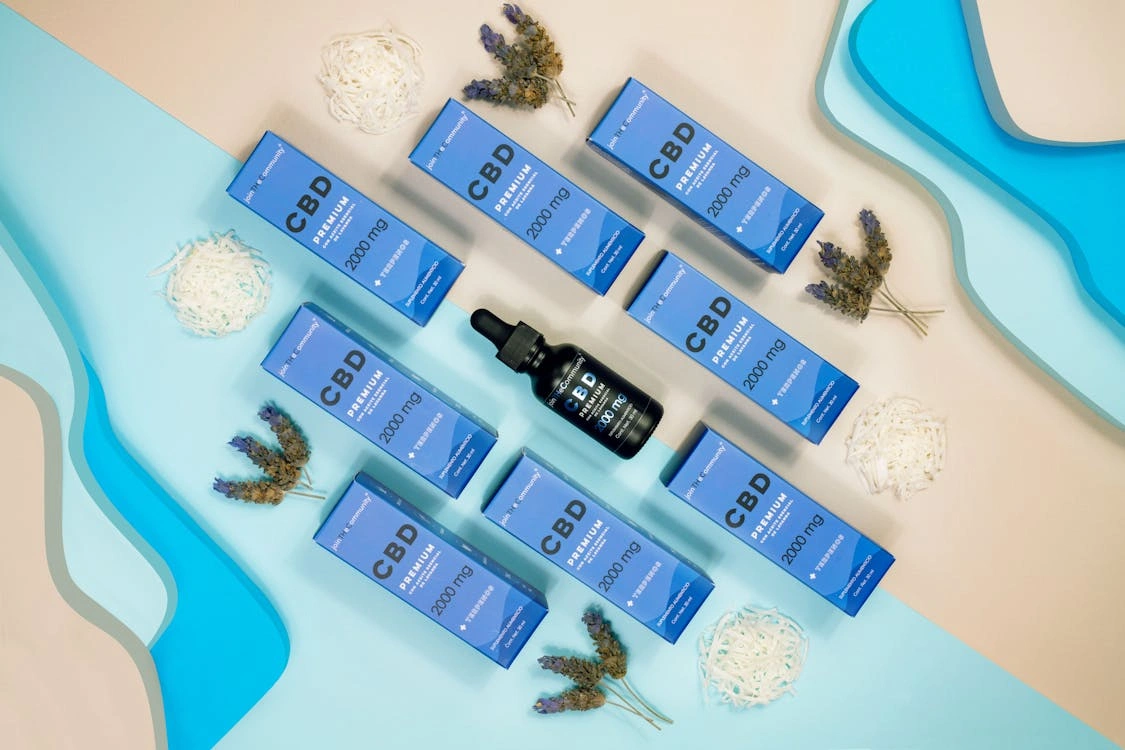
Paper selection isn’t just about aesthetics—it also depends on practical needs. Food packaging should be moisture-resistant; electronics need anti-static protection; shipping bags must be durable; international delivery requires crush resistance. Just like skincare products are chosen based on skin type, packaging should match the product, brand positioning, and transport requirements.
2.Design Files: The “Recipe” for the Printing Machine
Printing factories don’t print the moment they receive a file. A design file isn’t just an image—it’s the foundation of print quality, like a recipe, where each step affects the final result.
- Color Mode: RGB vs. CMYK, Two Different Languages
Computer screens use RGB (Red, Green, Blue) for vibrant, bright colors. Printing uses CMYK (Cyan, Magenta, Yellow, Black), a different color system. Converting between them always causes slight color differences—it’s not the printer’s fault, but physics. Files must be converted to CMYK in advance, or the colors will differ in print. - Resolution: Guarantee of Print Clarity
Files should be at least 300 dpi. Lower resolution leads to blurry, grainy prints, like enlarging a phone photo to A4. Many designers hear clients say: “Why does it look worse than on my phone?”—usually a resolution issue. - Bleed: The Safety Margin for Cutting
Bleed means extending the design 3mm beyond the final cut size to prevent white edges, since cutting isn’t 100% precise.
Printers almost dread hearing: “The colors on my screen don’t match the print!” Screens emit light, colors are bright and saturated; paper reflects light and looks darker; screen brightness varies; RGB vs. CMYK differences make color confirmation before printing crucial. Proofs show you a close-to-final effect, so adjustments can be made early.
Four Main Printing Techniques: The Four Masters
Once ingredients and the recipe are ready, it’s time to choose the cooking method. In paper packaging, printing techniques are like the “Four Masters,” each with its specialty. Picking the right method enhances results, while balancing cost and efficiency.
1.Offset Printing: The All-Rounder
Offset printing is the most widely used method, applied to about 70% of paper products. It works using oil and water repelling each other: ink adheres only to the image areas of the plate, then transfers to paper.
It’s ideal for medium to large orders (thousands to tens of thousands). It handles complex, colorful designs well, especially when brand colors must match exact standards. Pros: high precision, accurate colors, mature technology. Cons: higher minimum orders, not cost-effective for small batches.
2.Flexographic Printing: The Eco-Friendly “Gentleman”
Flexo works like stamping, using flexible resin plates to print directly on paper or other materials. Its strengths: environmentally friendly (water-based inks), low waste, high material efficiency. It’s great for eco-conscious markets, rough recycled papers, or large areas of uniform color. Drawback: lower color detail than offset, limited for highly intricate designs.
3.Gravure Printing: The “Bold Artist”
Gravure uses etched plates filled with ink, transferring thick layers to paper for vivid, even slightly embossed colors. Suited for very large runs (100,000+), high-end packaging like rigid boxes or folding boxes, or special metallic/pearl effects. Pros: intense color, consistent, fast for large runs; cons: high plate cost, unsuitable for small batches.
4.Digital Printing: Flexible “Fast Fashion”
Digital printing works like a large, professional color printer. Files output directly without plates, allowing zero minimum orders, rapid turnaround, and easy personalization. Perfect for small batches, custom names, prototypes, or urgent orders. Pros: flexible, instant changes, personalized; cons: higher unit cost, limited paper choices, slight unevenness on large solid colors.

Enhancement Techniques: “Makeup and Hairstyling” for Packaging
Basic printing is like a bare-faced beauty—features are there but something’s missing. Enhancement techniques are the makeup and accessories—eyebrows, lipstick, hair, jewelry—that make the beauty shine.
1. Surface Treatments
Surface treatments determine the final visual texture and protection:
- Lamination: A transparent “coat” for paper, like putting a protective film on a photo.
- Gloss Lamination: Like a dewy makeup effect—enhances contrast and saturation, waterproof, stain-resistant.
- Matte Lamination: Like high-end matte makeup—removes glare, giving a refined, soft feel.
- Varnishing: Applying a clear “polish” layer.
- Spot UV: Adds glossy, raised highlights to specific areas (logos, text) for visual and tactile contrast.
- Water-Based Varnish: Thin, natural protective layer, eco-friendly, preserves paper texture.
2. Foil Stamping: The Finishing Touch
Foil stamping transfers metallic or colored foil to paper, creating shiny, luxurious graphics.
- Hot Foil: Heat presses the foil—durable, sharp edges, slightly raised texture.
- Cold Foil: Glue-based, flexible, cost-effective, allows fine lines but slightly less tactile quality.
Modern foils go beyond gold and silver: colored foils, holographic foils, and texture foils (wood, marble, leather, fabric) open endless creative possibilities. Rule of thumb: less is more—don’t cover more than 30% of the surface; subtle highlights look far more sophisticated.
3. Embossing & Debossing: Creating Tactile Memories
These techniques add touchable texture to rigid boxes, gift bags, or folding boxes.
- Embossing: Raised patterns.
- Debossing: Indented patterns.
- Combination with Foil: Adds metallic shine and dimension simultaneously.
4. Special Effects: Magical Surprises
- Die-Cut Windows: Reveal inner contents elegantly.
- Scent Printing: Fragrances released on touch.
- Thermochromic Ink: Color changes with temperature, adding interactivity or anti-counterfeit functionality.
Often, multiple techniques combine—offset, foil, UV varnish, embossing—raising costs but dramatically increasing perceived value, turning packaging into collectible art.
Good packaging—whether it’s a rigid box, folding box, gift bag, shopping bag, or corrugated box—is like a brand’s first handshake with a consumer. It carries the product and conveys taste and attention to detail. Printing transforms flat designs into three-dimensional, touchable, warm objects. The best solution depends on your product and scale.
Communicate fully with your designer and printer. Share your product, customers, and story, letting the techniques tell your brand’s tale. Next time you see a beautifully packaged item, you might sense the care and craftsmanship behind it. This article hopes to give you not just printing knowledge, but a perspective to appreciate beauty and mindful design.